Sample Club
Laser Cutting Plywood Snowflakes
Holidays, Wood
Introduction
– Laser Cutting Plywood Snowflakes
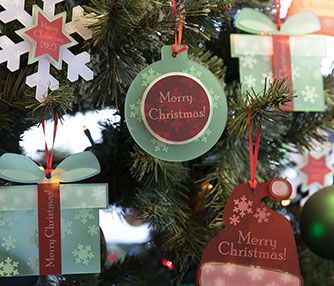
These painted laser cut plywood snowflakes are quick and easy pieces to add to your holiday product offerings. Whether you hang them as Christmas tree ornaments, include them in holiday cards, or use them in wintery displays, they are a fun and easy way to get into the spirit of the season. Check out the video or instructions below and you’ll be cutting your snowflakes in minutes!
Project Settings
Materials Needed
-
1/8″ thick plywoodWe used a birch plywood; you could use whatever type you like, though you may need to adjust your laser settings.
-
Spray paint(optional)
Machine Used
Fusion Pro 24 80 watt
Vector Engraving
Speed12%
Power100%
Frequency10%
Recent Projects
Speed
Power
DPI
Prepare the Artwork
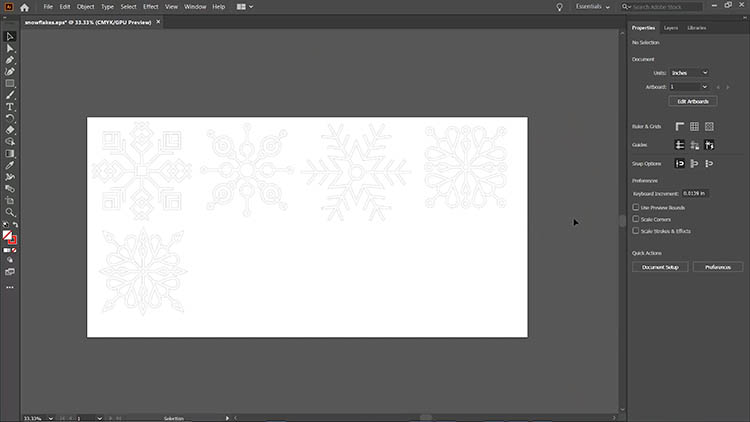
Start by customizing your artwork as necessary.
Determine your Parameters
Consult your owner’s manual for recommended engraving/cutting settings for your machine and wattage. Enter your settings within the dashboard, and send the job to the laser.
Prepare your Material
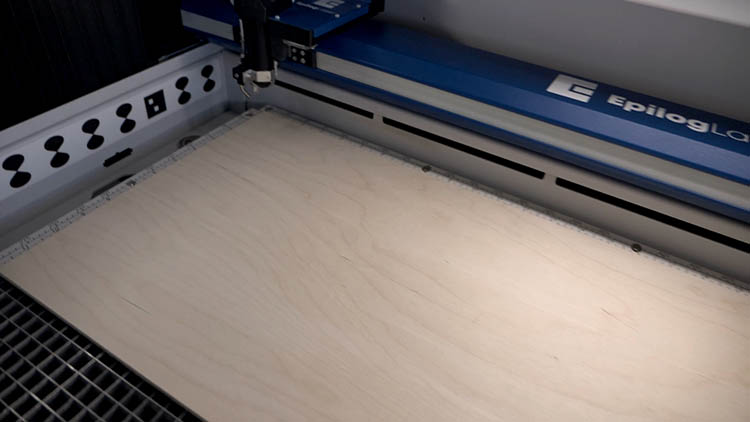
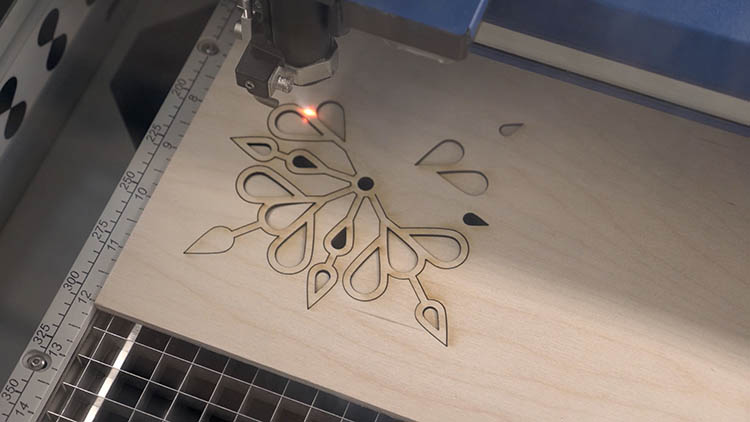
Place your plywood on the laser bed, close the lid and run the job.
Decoration (optional)
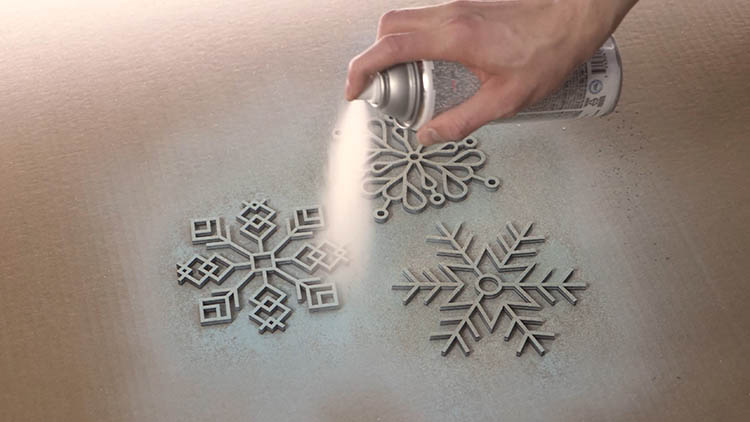
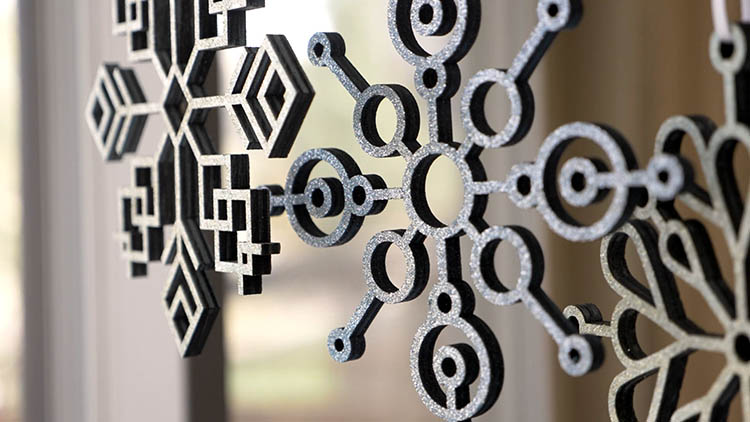
After the job is done, spray paint the snowflakes whatever color(s) you’d like, or wipe away any residue and leave them as-is. Decorate however you’d like! These festive little flakes will have you singing “Let it Snow” in no time.
Where can you sell laser cut snowflake decorations?
- Retail shops
- Online
- Craft Fairs
You may also like…
Related to: Holidays, Wood
